Oak Light


Oak Light
Published 2014-04-11T19:16:51+00:00
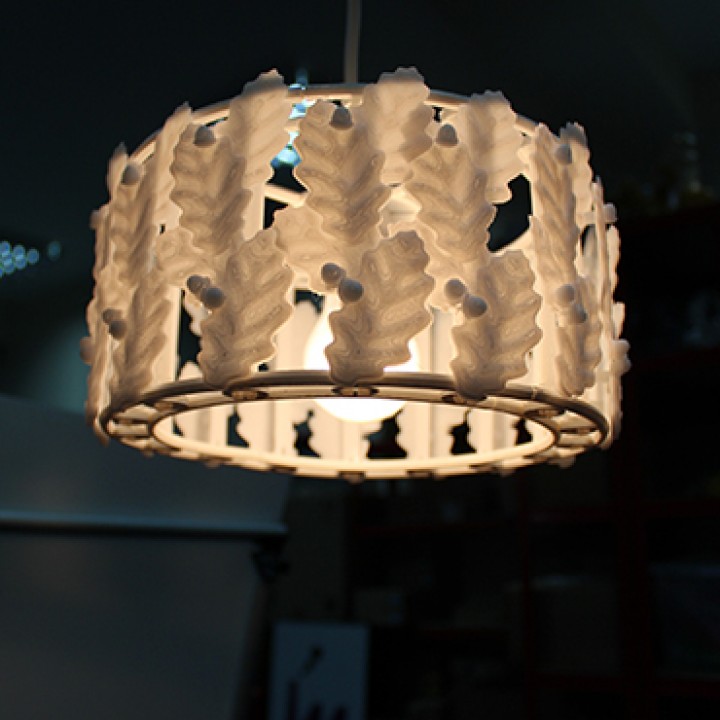
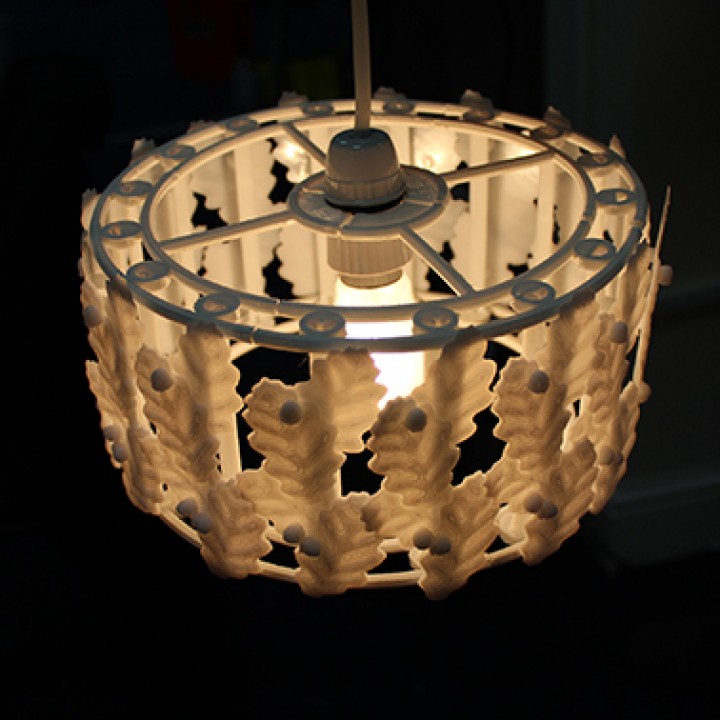
The 'Oak Light' Lampshade is my homage to my favorite tree this time of year. There are many parts to the lampshade, but they should be easy to print and I've designed them to use very little support.


I've designed a Hex and Triangle joint that needs almost no support, but you must print them the right way, the 'Peg' parts, (I called them 'POS') MUST be printed with the triangle point facing down, (their will be a tiny bit of support that will need cleaning below the triangle peg) and the parts with the hole, (NEG parts) should be printed with the triangle hole with the point faceing up, this way you don't need support and you don't need to clean support from the hole, which I always find a pain when people design like that!
Althought everything pushes together nicely, as this design is going to be suspended over your head, I would suggest a drop of glue on all the joints after you have finished assembly.
To create the 'Oak Light', you will need to print;
16 supports
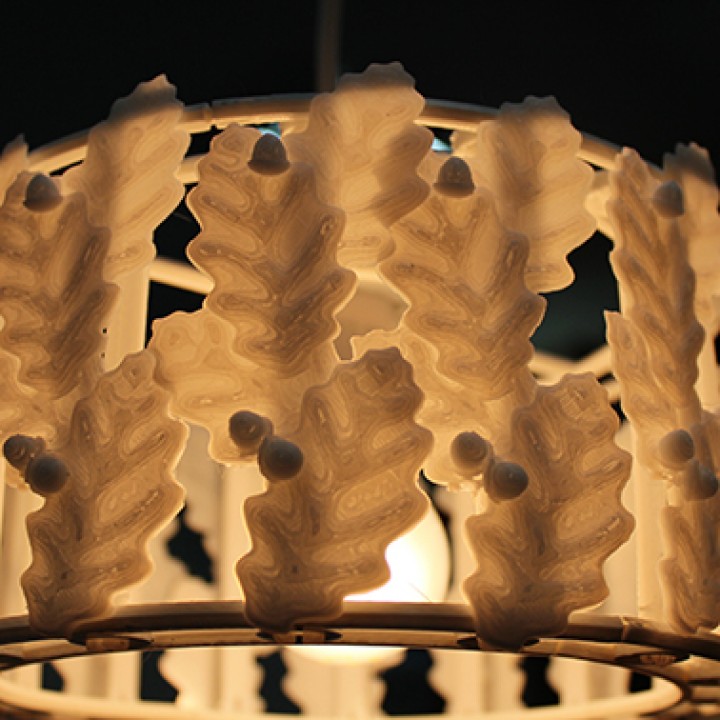
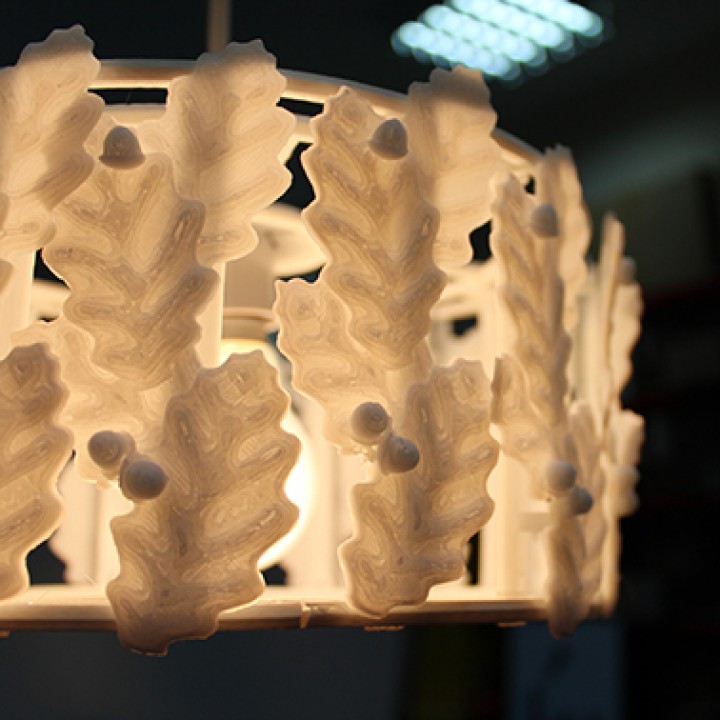
16 leaf designs
2 Lamp_Pos-Tops
2 Pos-Middles
2 Lamp_Neg-Tops
2 Neg-Middles
If your printing on a heated bed, then you can use this trick to give the leaves a more dynamic pose, as soon as the print of the leaves is finished I peeled the leaves off the print bed, letting the edges of the leafs curl up and set as they cooled, be careful not to burn your fingers, but the result added an extra shape to the leaves.
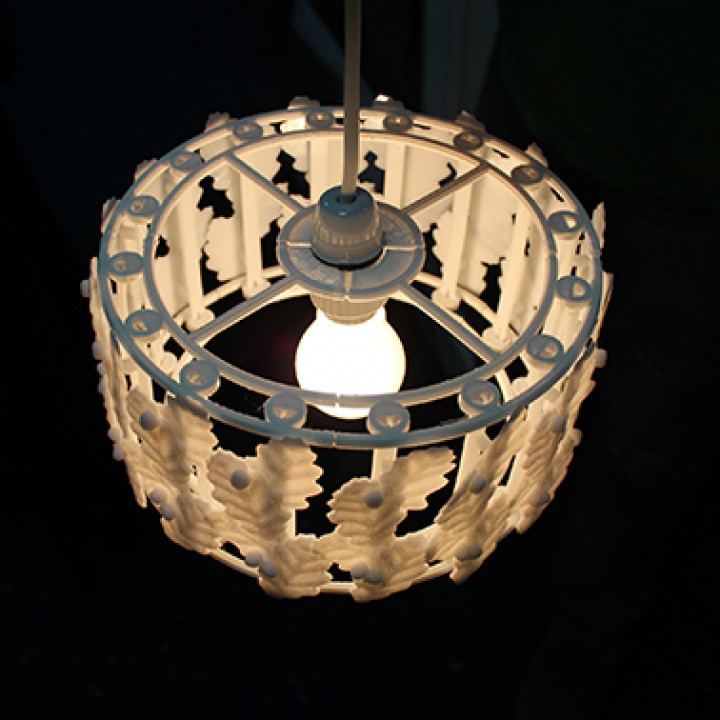
Glue the Leaf designs to the supports, before you assemble, everything else clips together and when you attach the lampshade to the light fitting that will help clamp the parts together, giving strength. As I said before this clips together, but as it's going to be over your head, a drop of plastic glue on the joints would just make things safe.
Have fun, a lot of people think this looks great, please send us your photo's of your prints of the 'Oak Light' shade.
Richard
| Date published | 11/04/2014 |
| Dimensions | 120mm / 240mm / 240mm |
| Complexity | Medium |