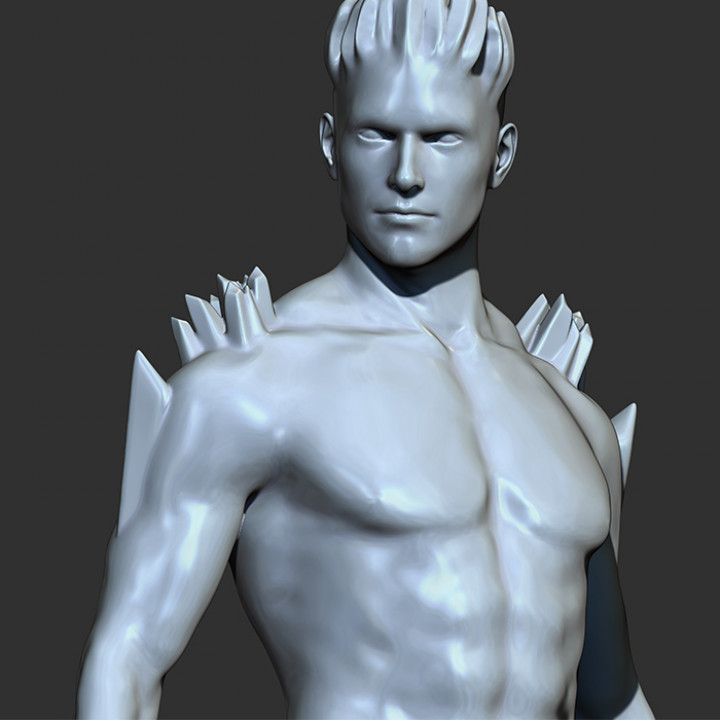
Iceman (X-men)


Iceman (X-men)
Published 2020-07-20T12:34:36+00:00
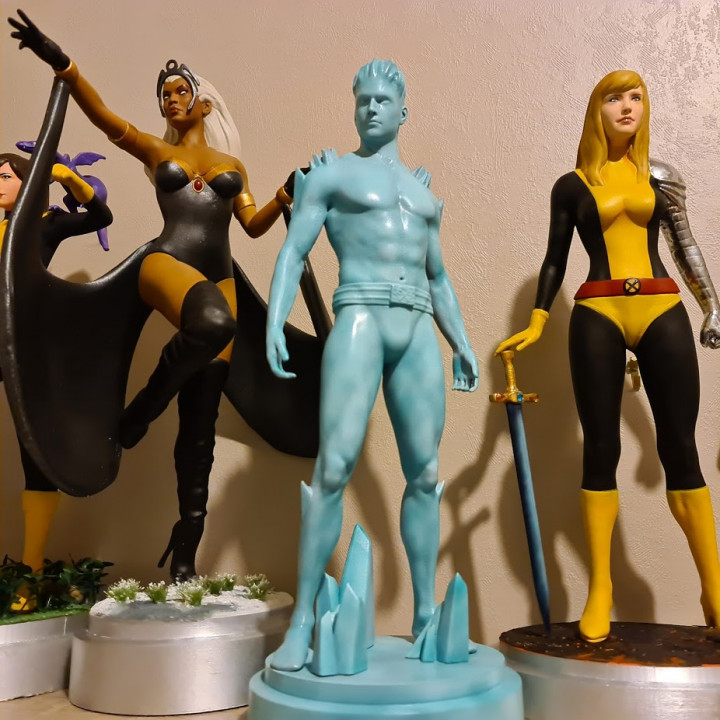
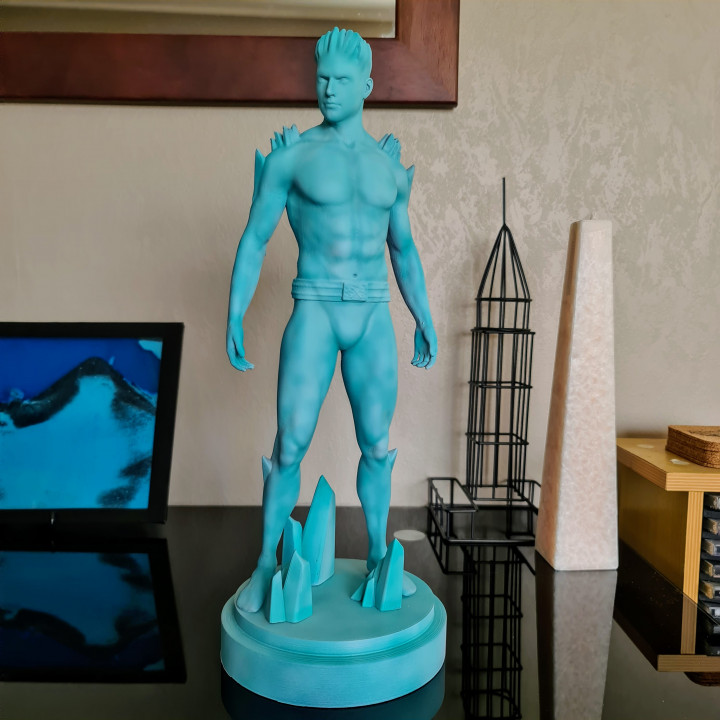
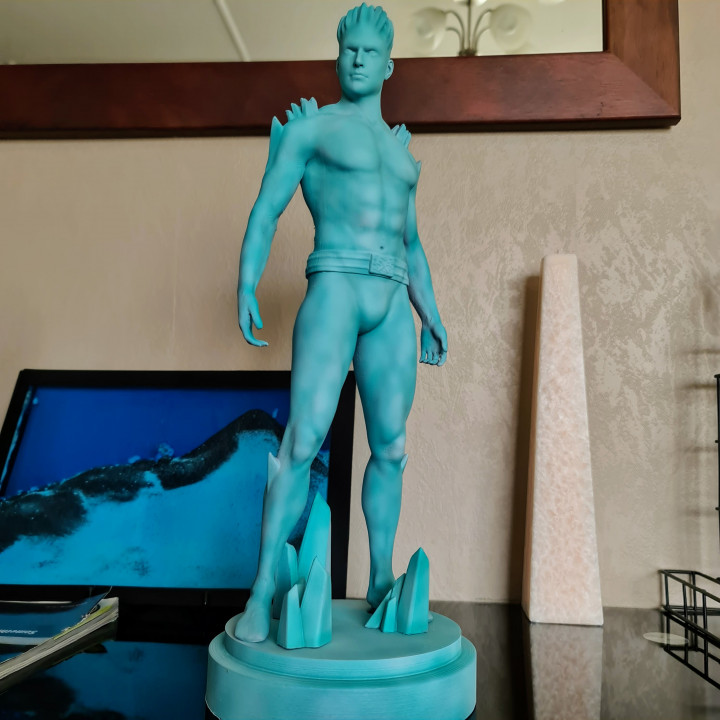
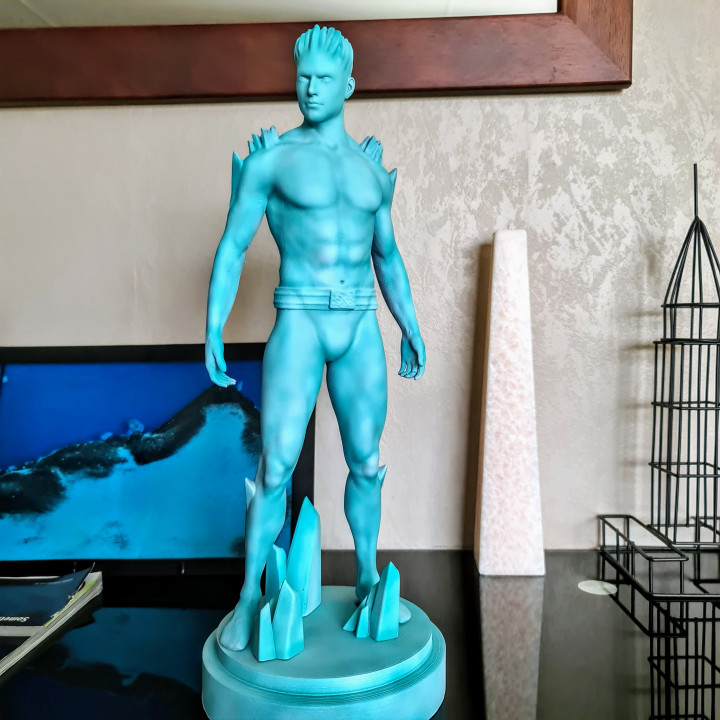
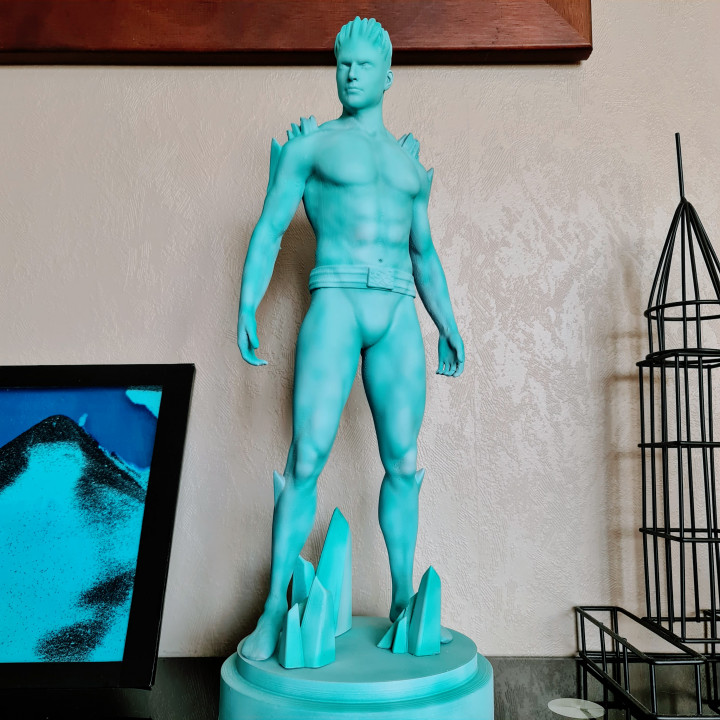
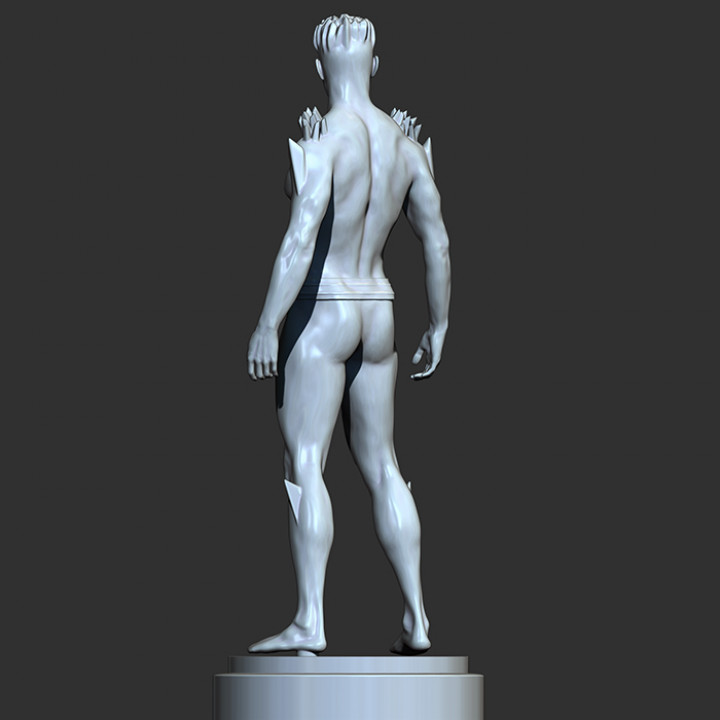
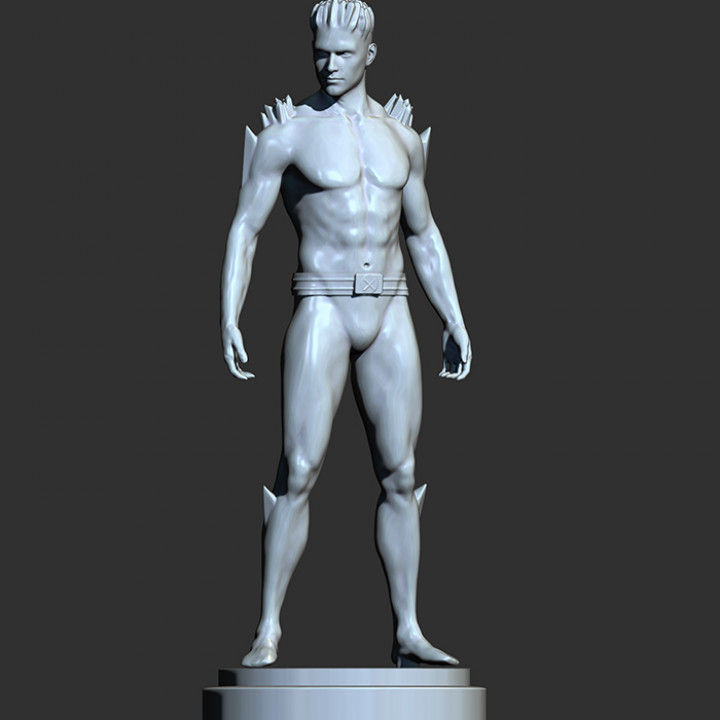
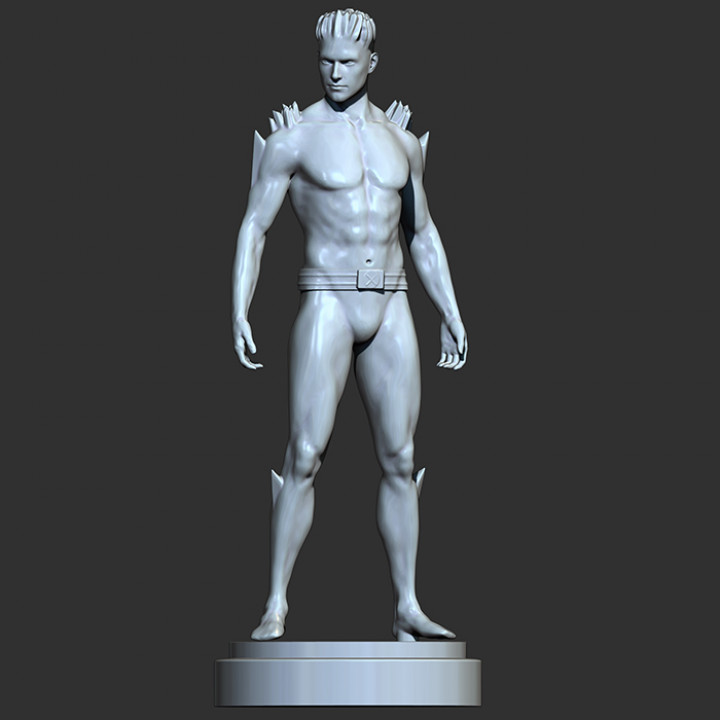
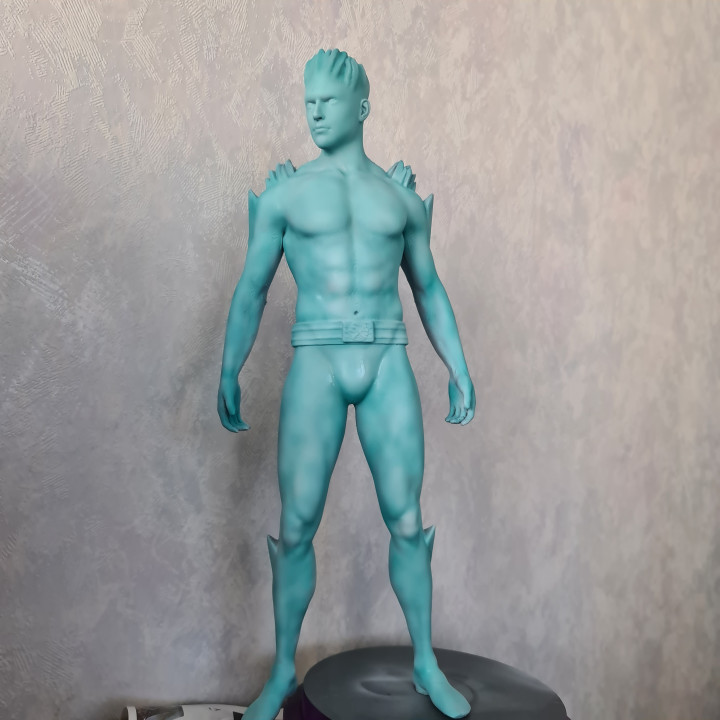
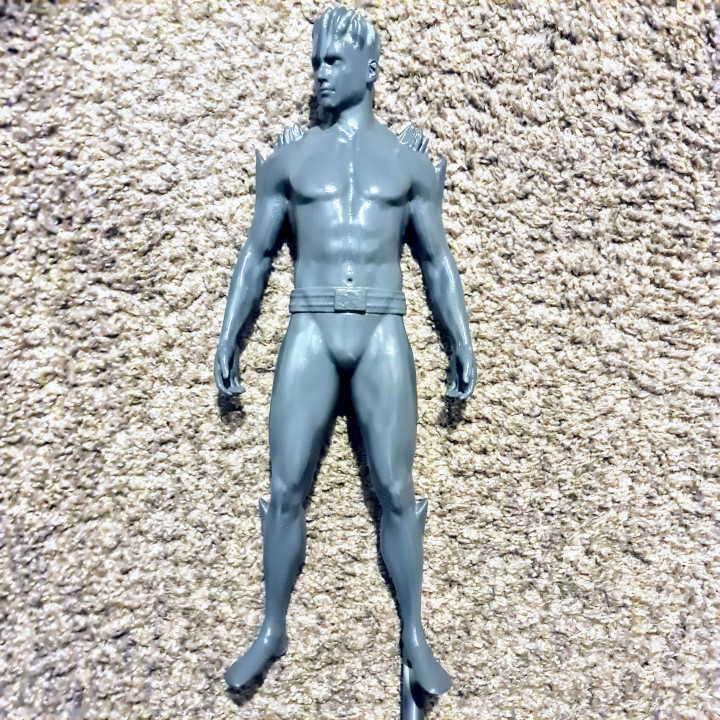
Iceman - X-men: Inspired by his modern costume.
Check my other X-men characters (more coming soon):
Wolverine: https://www.myminifactory.com/object/3d-print-132440
Colossus: https://www.myminifactory.com/object/3d-print-124831
Phoenix - Jean Grey: https://www.myminifactory.com/object/3d-print-124189
Emma Frost: https://www.myminifactory.com/object/3d-print-emma-frost-white-queen-x-men-113107
Cyclops: https://www.myminifactory.com/object/3d-print-114192
Storm: https://www.myminifactory.com/object/3d-print-storm-wind-rider-x-men-113073
NightCrawler: https://www.myminifactory.com/object/3d-print-119568
Kitty Pryde (Shadowcat): https://www.myminifactory.com/object/3d-print-117907


This is a very simple figure to print (only 3 parts) . Make sure you scale the model to 178% in CURA if intend to print at 1/6 scale. You can scale the model up (or down) to any size you want though. If you want to print a large model, make sure you start with the legs (which is the tallest piece) and check what’s the maximum percentage your printer can print based on its print bed size. From there make sure all the subsequent pieces have the same percentage you used for the legs.
Base: due to how the base i was created in Zbrush make sure you scale it slightly up in cura so it will fit the foot pole inside its hole. PLA tends to expand during printing. therefore is advisable you scale the base between 5-10% to avoid that (if you're printing the figure at the suggested size otherwise a lower number will work just fine). Otherwise you can use a heat gun (just for a few seconds) to soften the plastic before trying to connect the legs to the base.
Support: Make sure you use a brim or rafts for all the parts. I always use raft as it provides the most stabe base for supports and the overall figure. Supports will be a necessary for the main pieces, so try to find the best settings in your slicer so they’re easier to be removed (i like to use 1 or 2x my layer height) and it wont affect the details as much.
Layer Height: Ideally you should use a 0.12 layer height (or less) so the details can be preserved. I used 0.08 for the majority of parts in this figure( i have a 0.4 nozzle but you can go lower if you have a 0.2 or 0.1 nozzle).
Post-Printing:
You will need superglue to join all the pieces together. Make sure you use a strong one such as Loctite all purposes superglue (gel had the best results in my trials) or any similar brand. Avoid epoxy as the parts will need to be clamped for a while in order to work (not an option here due to the nature of the model).
Sanding and priming (ideally with a filler) are ideal here if you intend to achieve a smooth finish prior airbrushing it or painting over the model.
Paint Suggestions/paints I used:
Entire figure (base colour): Vallejo Game air white or citadel Scar
Shades: Citadel aethermatic Blue
Highlight: either a dry brush with a bit or white or if you intend to airbrush Vallejo white to create a smooth transition between highlights and shade.
| Date published | 20/07/2020 |