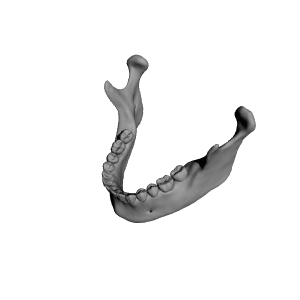
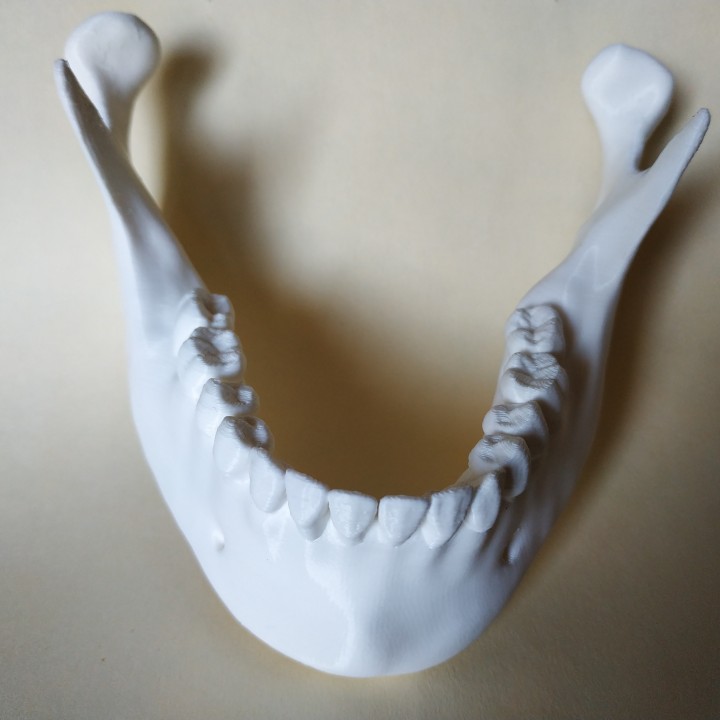
Human Mandible with teeth (with out 3rd molar)
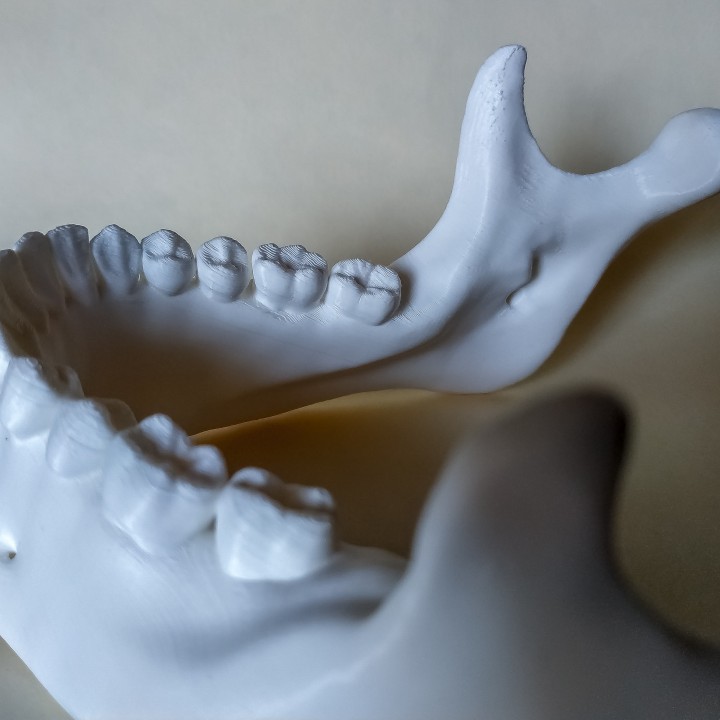
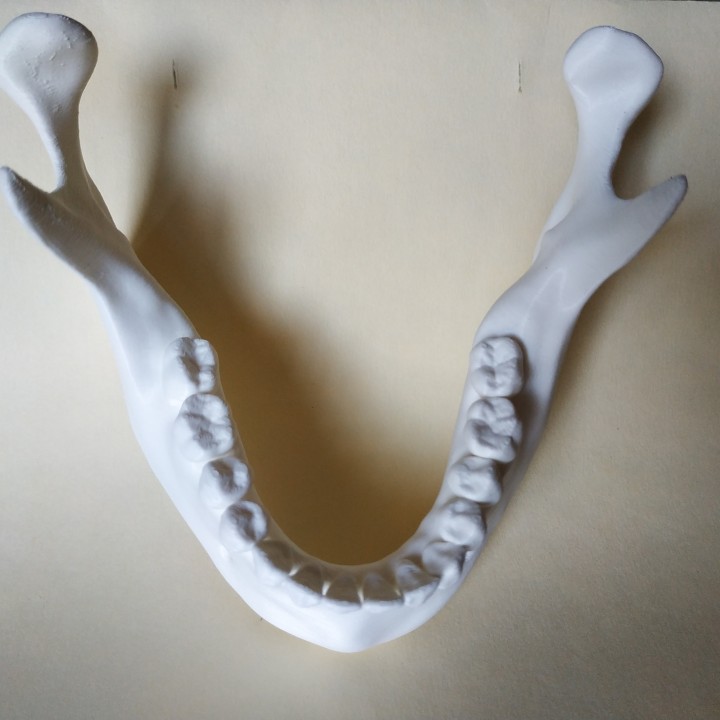


Human Mandible with teeth (with out 3rd molar)
Published 2019-01-15T10:10:16+00:00
INFORMATION [ENG]
This models was created using the Sculpt Mode on Blender using a Magnetic Resonance Imaging (MRI) file as a reference. So while this sculpt may be as close as posible to an anatomically correct model, you should take considerations if you are planing to use this model for education.
Im a dentist and I sculped this model mainly as a visual-aid to help my patients to understand anatomy, procedures and pathologies, but if you find another uses it's ok, as long as they're not commercial.
------------------------------------------------------
------------------------------------------------------
INFORMACIÓN [ESP]
Este modelo fue creado usando la Herramienta de Esculpir de Blender usando un Imagen por Resonancia Magnética (MRI) como referencia. Esto quiere decir que aunque el modelo 3D sea en su gran mayoría anatómicamente correcto, deben tomarse las consideraciones necesarias antes de darle uso educacional.
Soy Cirujano Dentista y al ver que no había modelos de calidad para imprimir en 3D decidí esculpir uno en Blender, El principal uso que le doy es para ayudar a mis pacientes a entender diferentes patologías, padecimientos, malformaciones asi como procedimientos y eduacucion anatómica. La persona que imprima este modelo es libre de darle otros usos, siempre y cuando ninguno de estos sea comercial.


INSTRUCTIONS [ENG]
Since the model is more organic than geometric, you should use a good number of top and bottom layers, my recommendation is at least 4.
I used supports only touching the buildplate with a 55° overhang angle at 15% density.
I used gyroid infill pattern at 15% density.
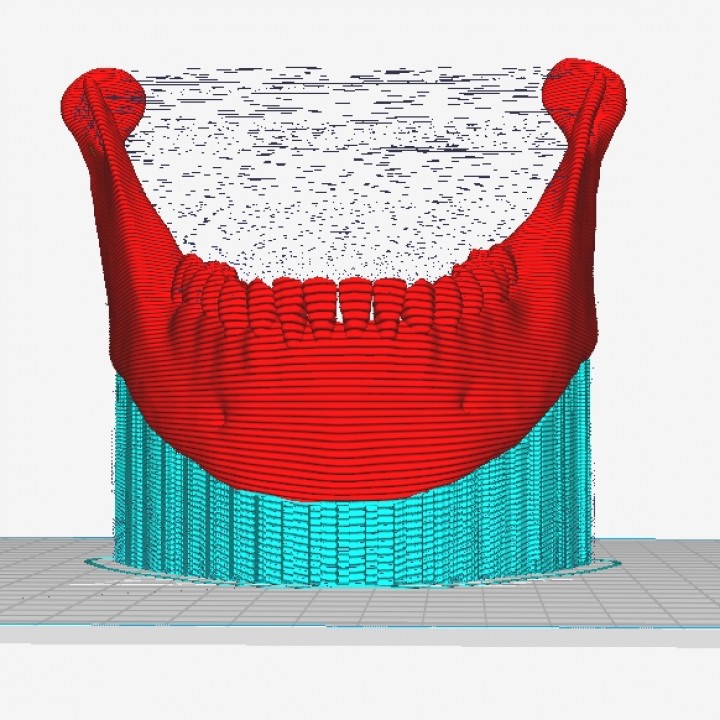
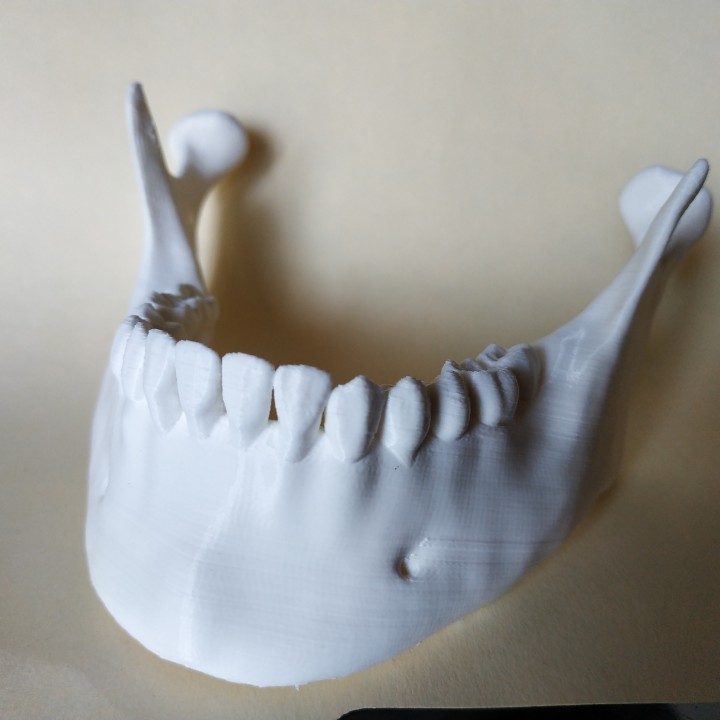
One important tip is that you put the model floating over the buildplate so that the supports don't fuse together with the model and thus making the support removal easier on the chin (see the example image).
On Ultimaker CURA this setting can be found under: Preferences/Configure Cura.../General and un-check the option that says: "Automatically drop models to the build plate", and now you can move the model on the Z axis (about 15mm).
Note: I mainly use CURA as my slicer and I don´t know how to do this on other slicers, if you know how to do it, please leave it on the comments.
-----------------------------------------------
-----------------------------------------------
INSTRUCCIONES [ESP]
Por la forma orgánica del modelo, recomiendo usar al menos 4 capas superiores y 4 inferiores y alrededor de 3 perimetros. Utilicé soportes que solo toquen la cama de impresión con un ángulo de 55° con una densidad de 15%.
Utilicé relleno tipo giroide a 15% de densidad.
Algo muy importante es poner el modelo un poco separado de la cama de impresión para que los soportes generados no se fusionen con el modelo y sean mas fáciles de remover en la parte del mentón (vea la imagen ejemplo).
En Ultimaker CURA debes ir a: Preferencias/Configurar Cura.../General y desmarcar la casilla que dice: "Arrastrar modelos a la placa de impresión de forma automática", así podrás mover el modelo en su eje Z (alrededor de 15mm).
Nota: Solo utilizo CURA como slicer y no se como hacer esto mismo en otros slicer, si conoces como hacerlo, ponlo en los comentarios por favor.
| Date published | 15/01/2019 |
| Material Quantity | 60g |
| Dimensions | 126mm x 93.5mm x 96.2mm |