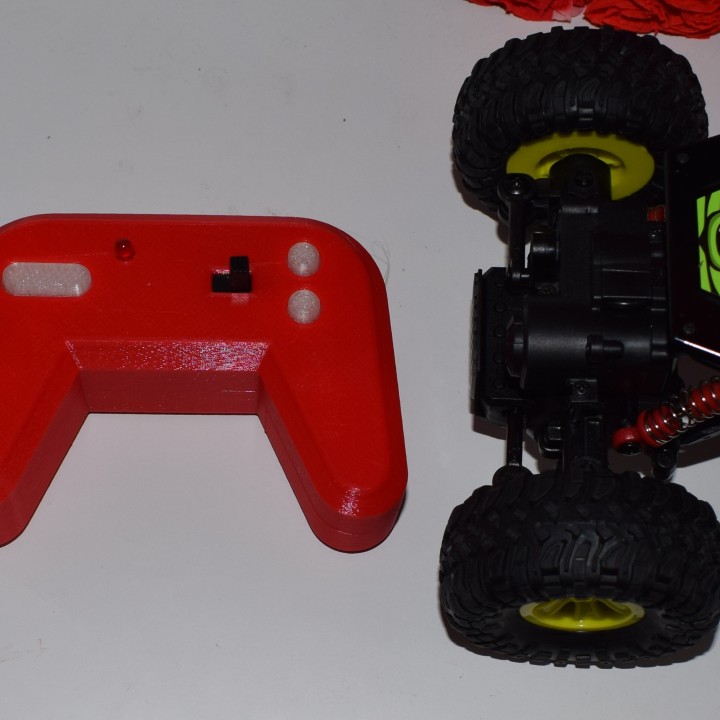
RC-Car Joystick/controller


RC-Car Joystick/controller
Published 2018-12-03T19:04:27+00:00
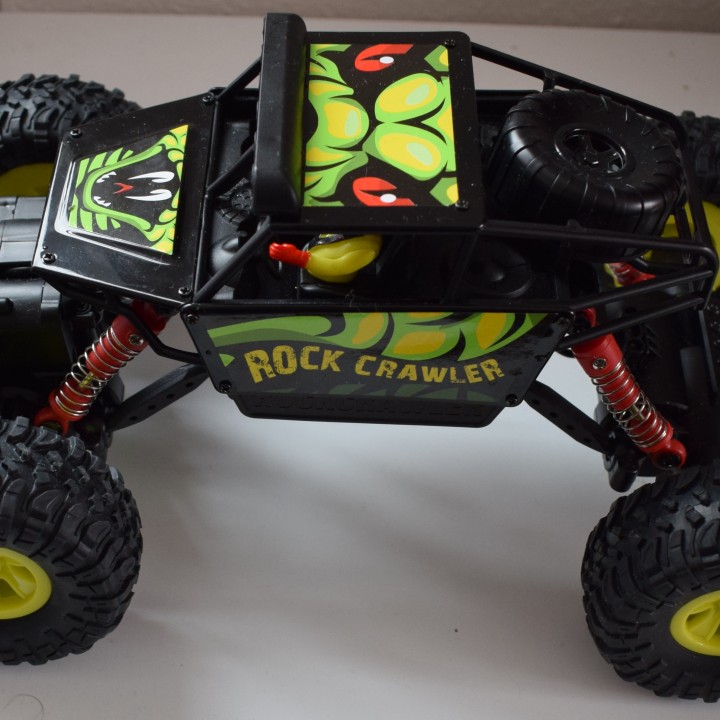
Lately I bought a cheap RC Car (model name "Crawler Car") from Lidle (Germany).
https://www.lidl.de/de/rc-fahrzeug/p288149?searchTrackingQuery=RC%20CAR&searchTrackingId=Product.288149&searchTrackingPos=2&searchTrackingOrigPos=3&searchTrackingRelevancy=90.42&searchTrackingPage=1&searchTrackingPageSize=36&searchTrackingOrigPageSize=36
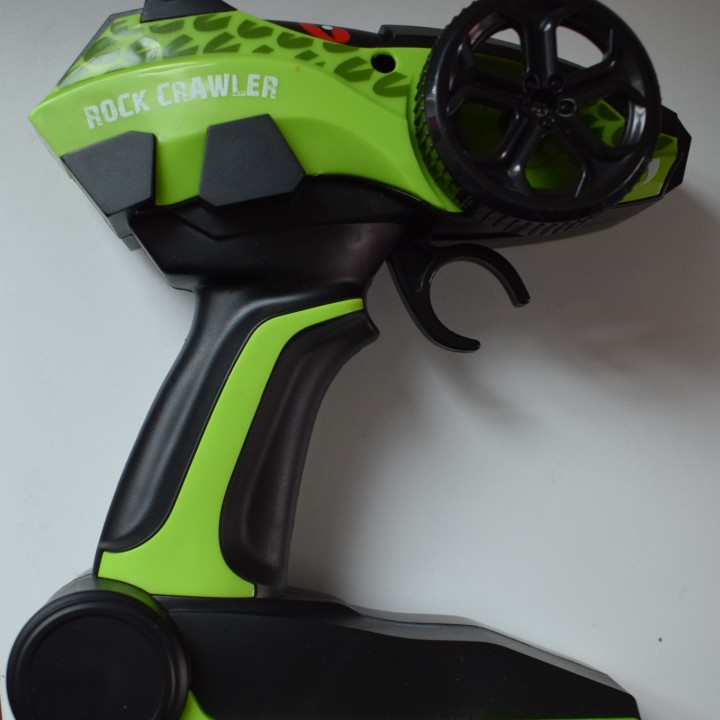
I was really frustrated because, controlling the car with the original controller was hard for me, and even more harder for my kid.
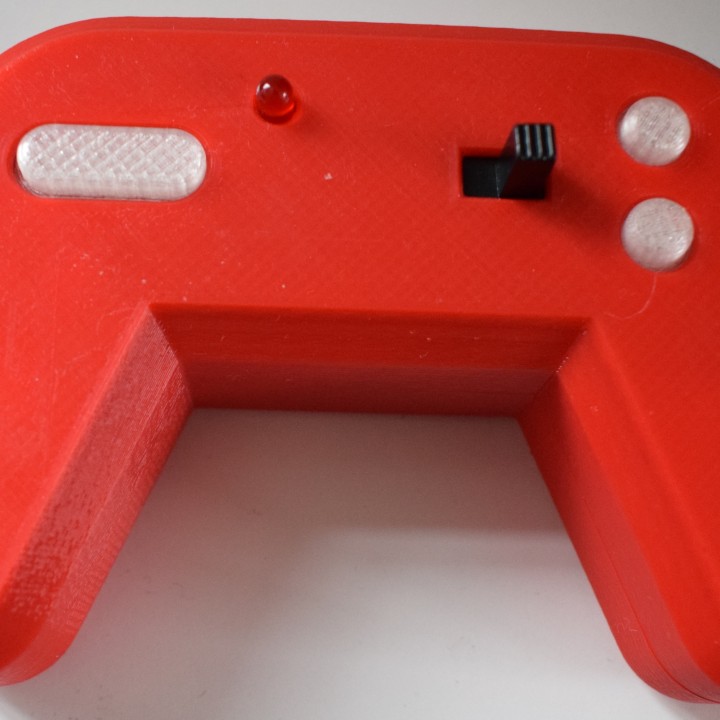
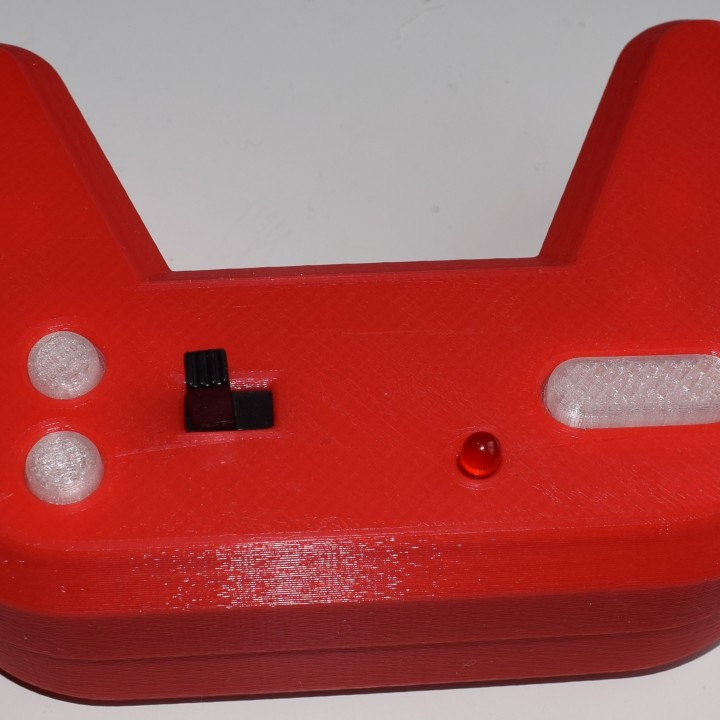
So I designed this simple controller, which allows you to control the car very easily.
print 1 piece of every part and 2 pieces of "button" and "button-holder".
I used following parts from the original controller.
-- 6 screws
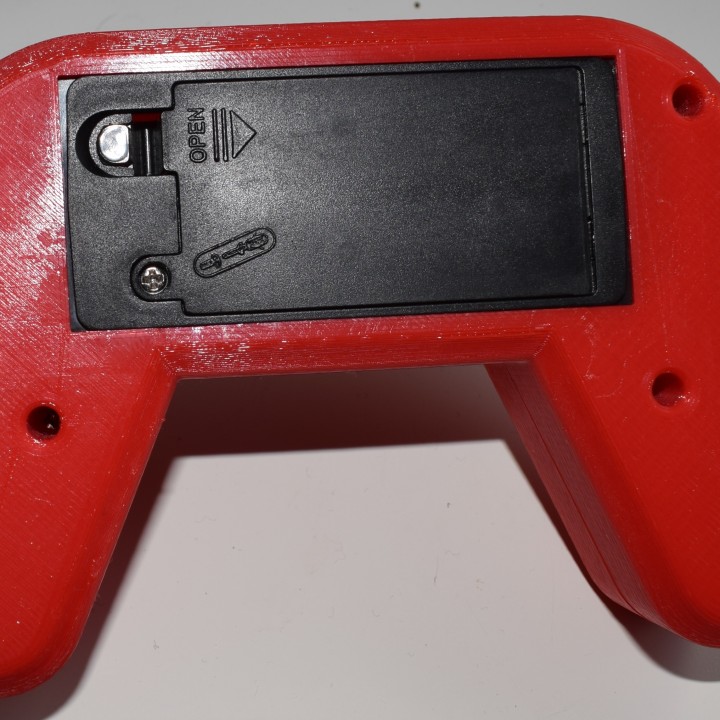
-- Battery holder
-- Of course the circuit board
-- on/off switch
Instructions:
1. open the original controller
2. take the circuit board, battery holder, on/off-switch and 6 screws from it.
3. you will need 4 standard push buttons. you can desolder them from then original circuit board. (or from any other old board with buttons.)
4. solder wires to the push-buttons
5. insert the push-buttons to the "button-holder" and the "button-holder-arrow"
6. insert the printed "button" and "arrow-key" to the "top" part
7. press the "button-holder" and "button-holder-arrow" to fix the buttons. depending on the printer you may have to use sand paper to trim these parts.
I recommend to use hot glue to secure these parts, even if they are fitting exactly. don't forget to hot glue the soldered wires too.
8. secure the circuit board to the top part with 3 screws. Put the LED in top hole and the ON/OFF switch in the designed place.
9. solder the button wires to the circuit board. use hot glue to secure the wires.
10. hot glue and fix the battery holder to the printed "down" part.
11. use the remaning 3 screws to fix the "down" and "top" part together


| Date published | 03/12/2018 |