Sega Megadrive / Genesis Game Cartridge Container


Sega Megadrive / Genesis Game Cartridge Container
Published 2018-01-31T17:41:23+00:00
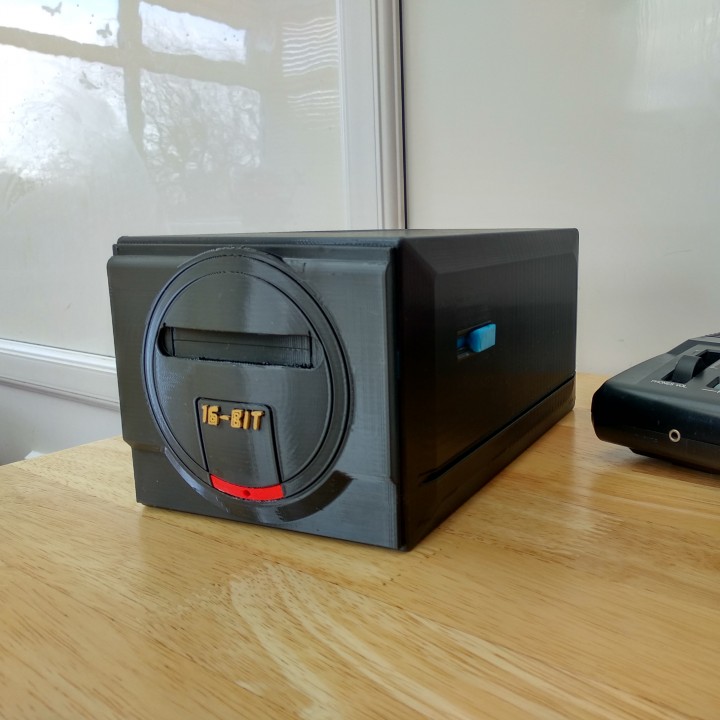
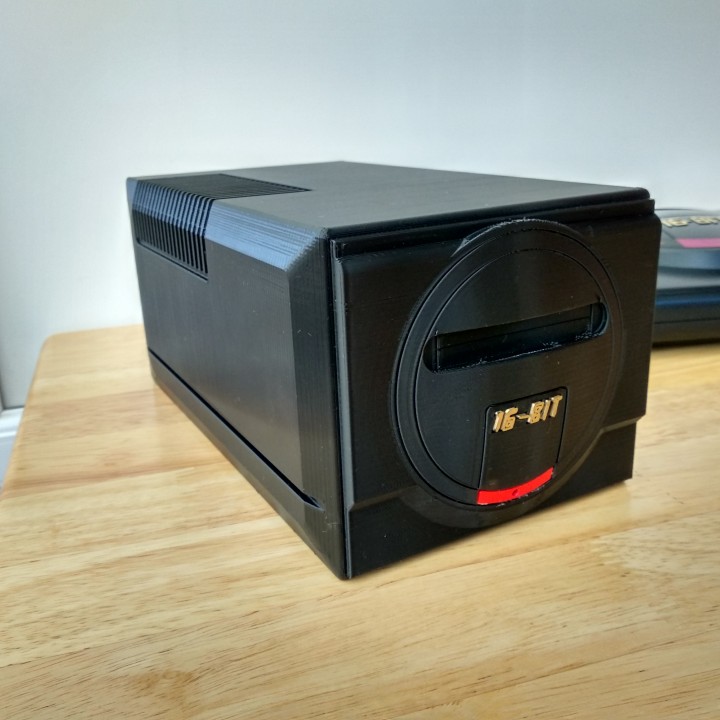
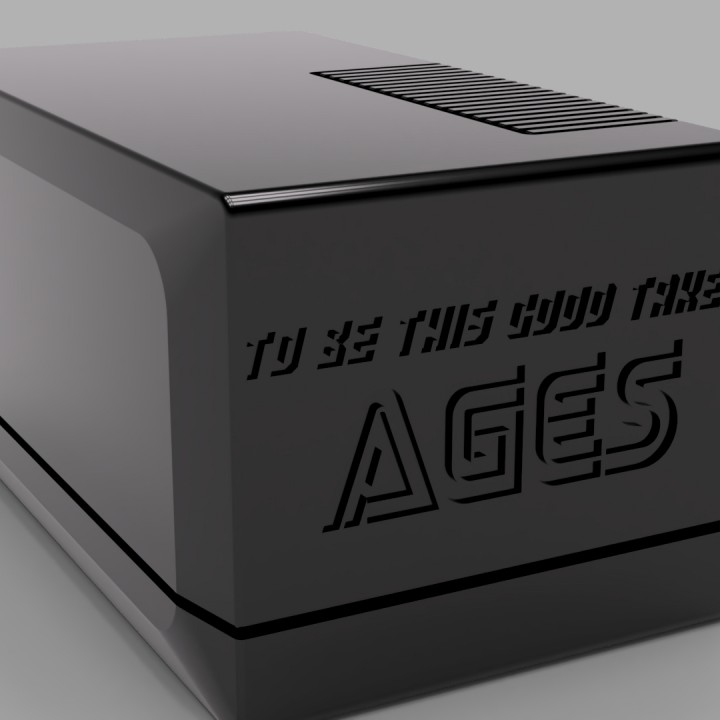
I am a massive Sega Fan and the Megadrive is one of my most Favourite consoles ever. Most of my games are boxed, but I do have a fair few that are loose. To honour these awesome games, I decided to create a container inspired by the original MK1 Megadrive / Genesis design. I hope you like it :)
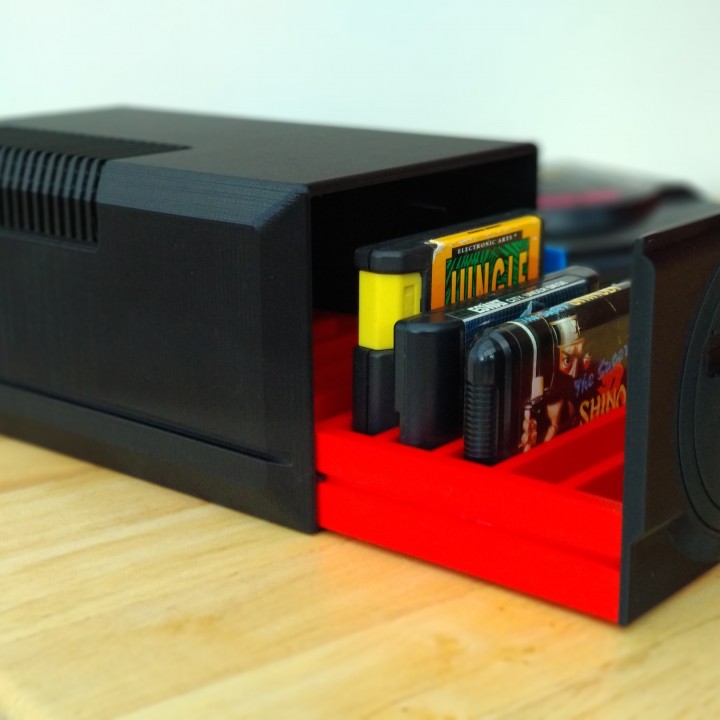
This container will fit the following cartridge types:
EURO Standard Megadrive Cartridges
USA Standard Genesis Cartridges
JAP Standard Megadrive Cartridges.
(Any Standard JAP or USA style carts should fit)
Electronic Arts Cartridges
The following carts have NOT be tested:
Codemasters (With Joypad ports) (i.e. Micro machines)
Any Action Replay or Game-shark cheat Cartridge
Virtua Racing (SVP)
32X Game Cartridges.
Note: Some may fit width wise, but not height (could potentially be laid flat). Others may have a thicker top half, in which it may fit should you chose to lose a slot.


Build Instructions:
Bellow is a guide based on how I printed of my version, it is by no means the only way to print this container. Please feel free to adapt to your needs :)
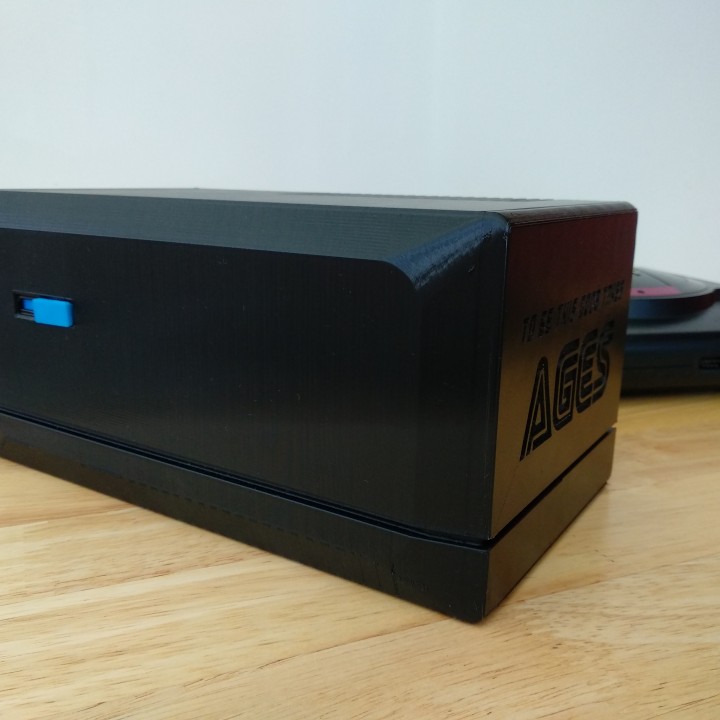
This is a large build! Container dimensions 147mm x 260mm x 119
I used a Lulzbot Taz 5 (which has a volume of 290mm x 275mm x 250mm) to print this container using a 0.5 mm nozzle and a Layer Height of 0.2 (Medium).
The unit has mostly been constructed from PLA (different colours depending on the part), however, I did use ABS for the door slider and switch since this was the only blue plastic that I had.
Container Body (MDCont_Body) (Black):
Infill: 10 %
Supports: None
Brim: Yes (25 x 2 Layers high)
Layer Height : 0.2 (Medium)
Time Taken: 26 Hours
I printed this part standing upwards (on its back) to avoid using supports.
Container Draw (MDCont_Draw) (Red):
Infill: 10 %
Supports: Yes (In groove)
Brim: Yes (25 x 2 Layers high)
Layer Height : 0.2 (Medium)
Time Taken: 13 Hours
Printed this flat on its bottom (default orientation with slots facing upwards). I did this to give the bottom layer a nice smooth surface and minimise on supports in slots.
Container Door Slider (MDCont_Door_Slider) (Blue):
Infill : 100 %
Supports : None
Skirt: Yes
Layer Height : 0.2 (Medium)
Time Taken: 14 mins
Container Door Slider Inner Panel (MDCont_Inner_Slider_Panel) (Black):
Infill : 100 %
Supports : None
Skirt: Yes
Layer Height : 0.2 (Medium)
Time Taken: 12 mins
Container Door Front ( MDCont_Front) or (MDCont_Front_WithDetails) (Black):
If you use MDCont_Front , then you will need to separately print all the details below such as Power Bar and Fonts otherwise you can use MDCont_Front_WithDetails.
Infill: 10 %
Supports: Yes
Brim: Yes (20 x 2 Layers high)
Layer Height : 0.2 (Medium)
Time Taken: 4 Hours
Container Front Power Bar (MDCont_Power_Bar.stl) (Red):
Infill : 100 %
Supports : None
Skirt: Yes
Layer Height : 0.2 (Medium)
Time Taken: ~15 min
Container Front Fonts (MDCont_Fonts) (Gold)
These form the lettering (16-BIT) on the front of the draw. For this, I actually used Clear PLA and painted the letters gold with a Sharpie.
Infill: 100 %
Supports: None
Skirt: Yes
Layer Height : 0.2 (Medium)
Time Taken: ~15 min
Assembly Instructions:
The container is easy to assemble. You will require the following tools and materials:
Superglue, Acetone or Some other strong glue.
Small File.
Note: When glueing, allow appropriate hardening/setting before proceeding to next steps. I allowed each part to set for 10 minutes before continuing and then let it set fully overnight.
Start with the Body and the Door Slider, Door Slider Button and Door Slider Inner Panel.
- Insert the Bolt into the slot located to the right of the Container Body. Make sure that the notch which the button will fit into is visible on the outside of the Container Body.
- Glue the Button to the Bolt. This should hold the Bolt in place. Once glued, it should be able to slide forwards and backwards.
- Glue the Door Slider Inner Panel to the inside of the container in its slot that surrounds the Bolt. This should cover the Bolt.
Next, Take the Container Draw. Make sure all support material was removed from its sliding grove. If the inner grove is a bit rough, sand away with the small file. Once this is done, take the Draw and the Container Front and Glue them together. If you used the (...withDetails) Front, then you are done. Otherwise perform the following:
- Glue the Power Bar into its appropriate area (Should be at the bottom once support is removed).
- Glue each font. Take care as they are small parts!
Once all the main parts are glue allow time to fully harden or set. You will then be able to slide the Draw into the body. The Container should be complete. The Container can be opened by sliding the button forward, this should push the Front open allowing you to slide the rest of the Draw out.
That's it! Add Cool Megadrive Games and Enjoy!!
| Date published | 31/01/2018 |
| ¿Cuándo tiempo lleva? | - 6 minutos |
| Dimensiones | 147mm x 260mm x 119mm |
| Tecnología | FDM |
| Complejidad | Fácil |